Guide to scanning documents to email using a Sharp MultiFunction Device (MFD)
Scan documents to email
In addition to print and photocopying, Sharp MFDs offer a Scan to email function that allows a physical hardcopy document to be converted into a digital format document. Documents are sent by email to your @cam.ac.uk email address with a copy of the scan attached.
To use Scan to email first log in to the MFD.
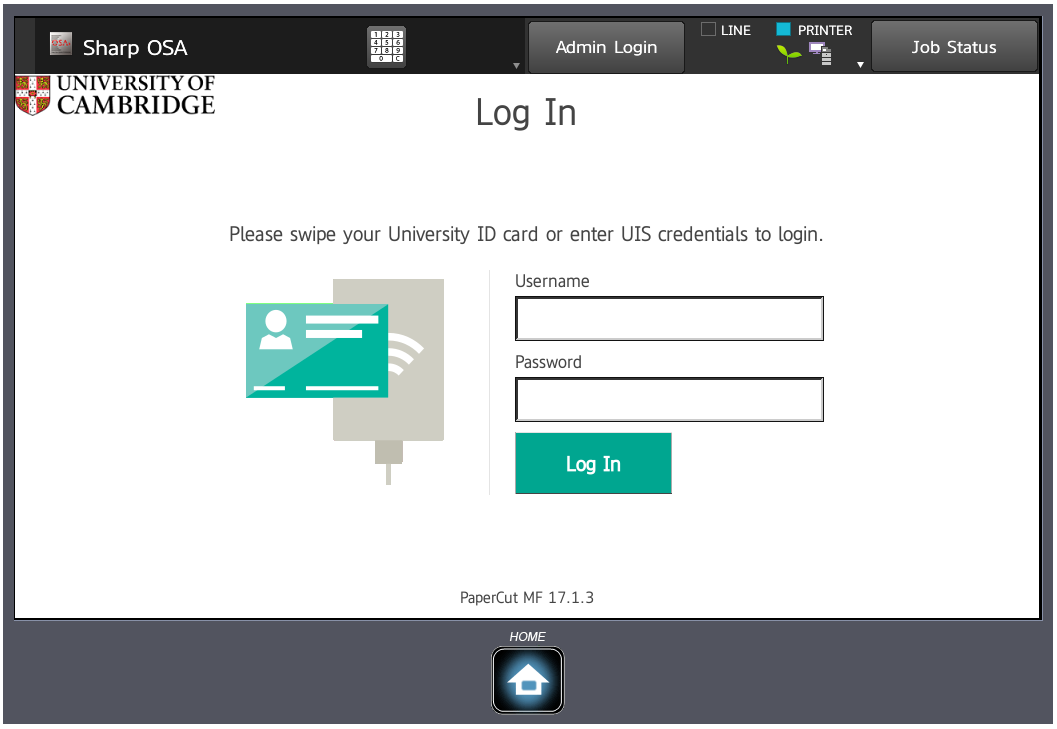
Figure 1: Login screen
Any held print jobs will be listed upon login. Press Device functions to move to the Function screen. Alternatively, if you have no held print jobs, the Function screen (Figure 3) will be displayed.
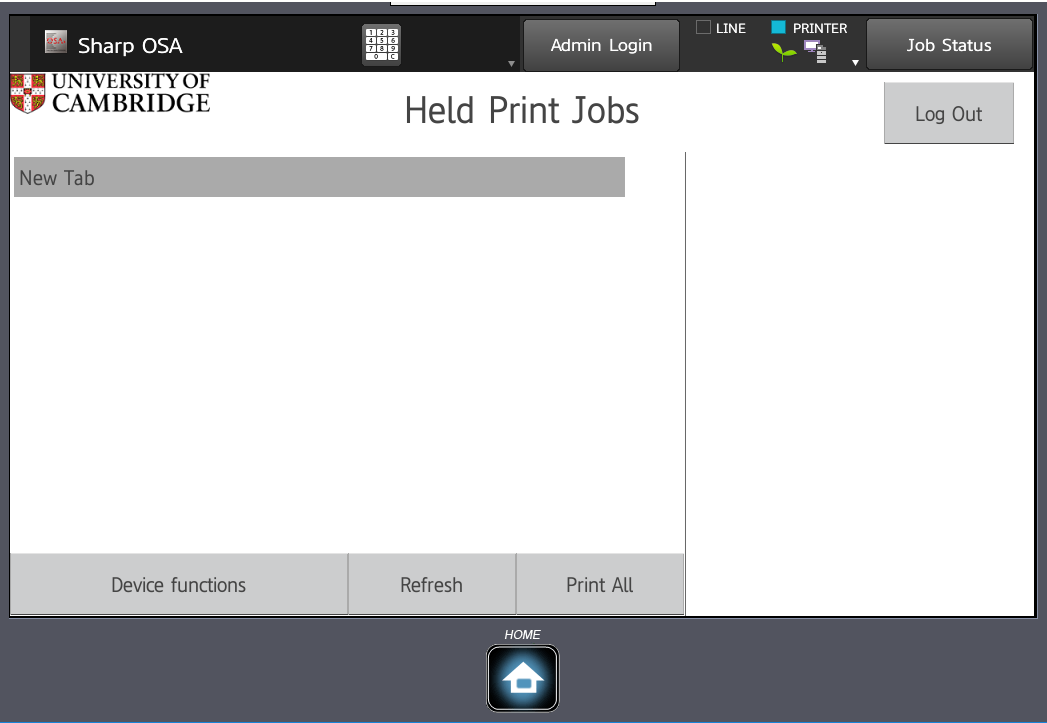
Figure 2: Held Print Jobs screen
Select Scan to email.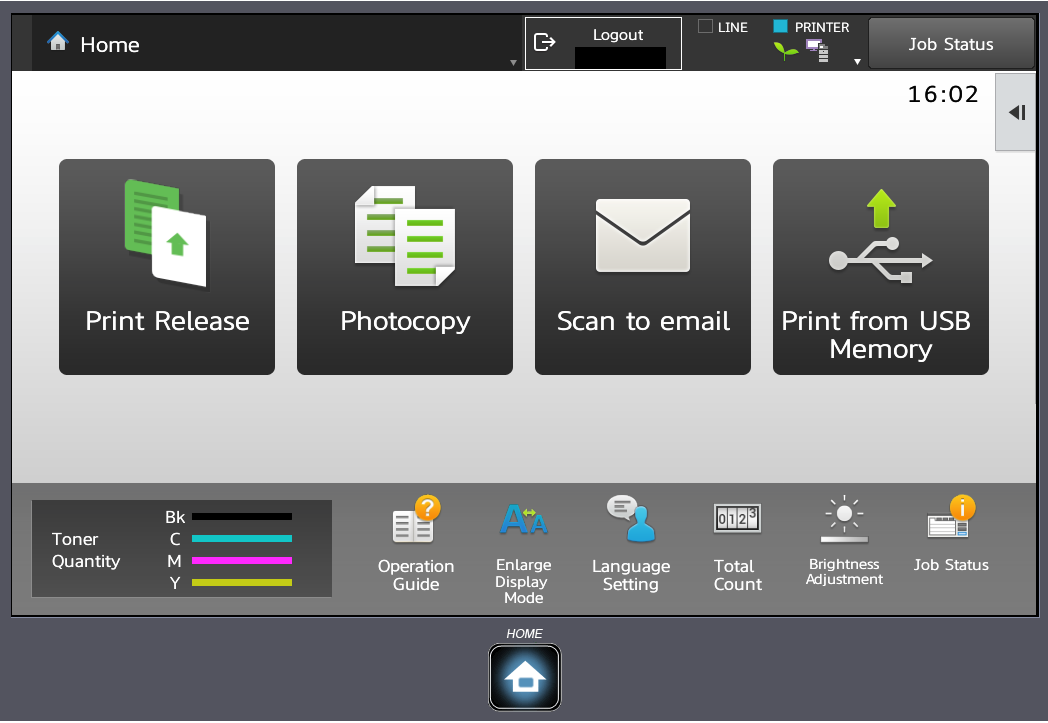
Figure 3: Function screen
At the Scan to email screen, your @cam email address is automatically populated in the Address field.
Note: due to copyright laws, users are only permitted to scan documents to their own @cam email address.
Make any required configuration changes using the left-hand toolbar.
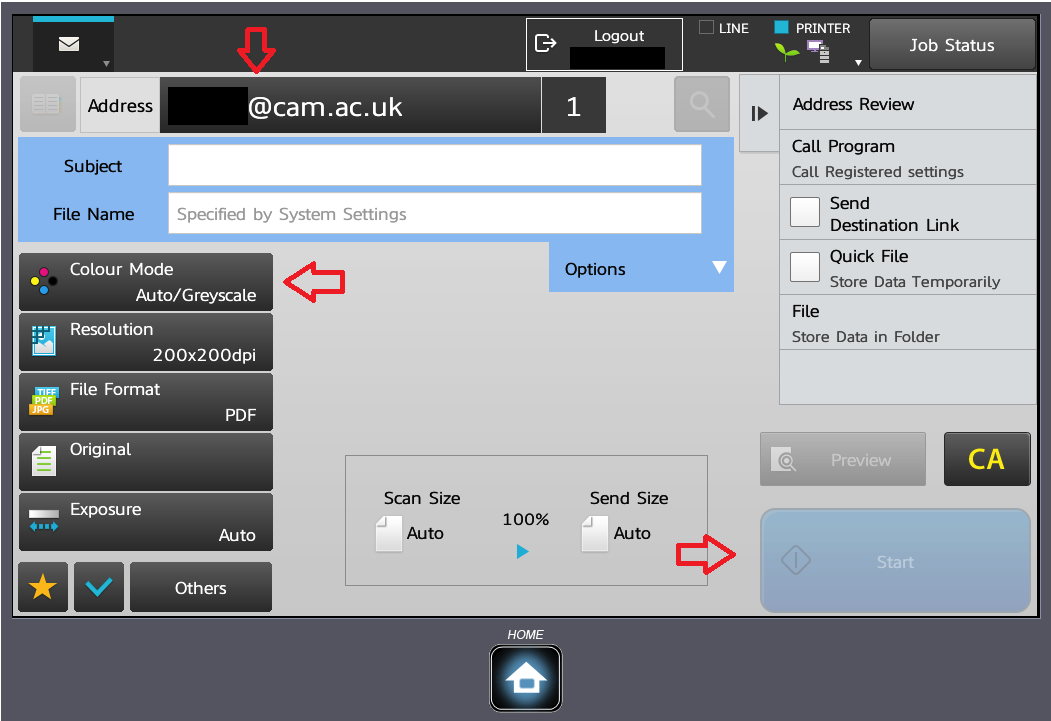
Figure 4: Scan to email screen
To review the scan on screen press Preview, or press Start to start the scan.
After a scan has been made a dialog window appears, press Read-End to finish the scan process, or place another document on the scan bed and press Start to add further pages to the scanned document. 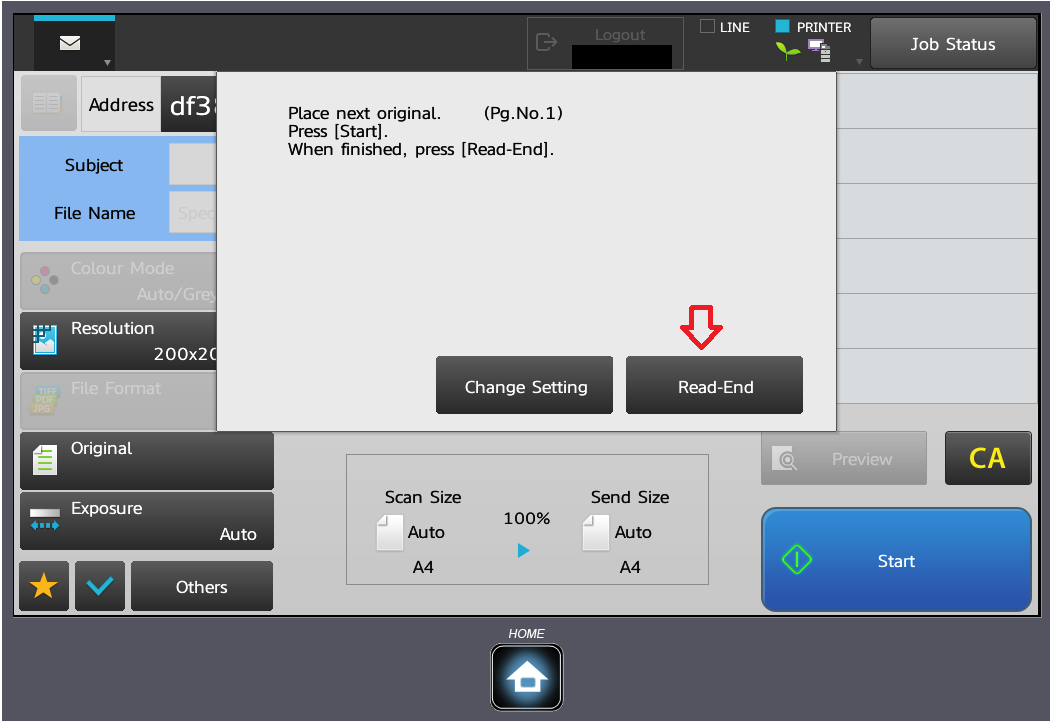
Figure 5: Pop-Up window
If Preview was pressed, the scanned document will be presented on screen, you can make any final changes to the page layout.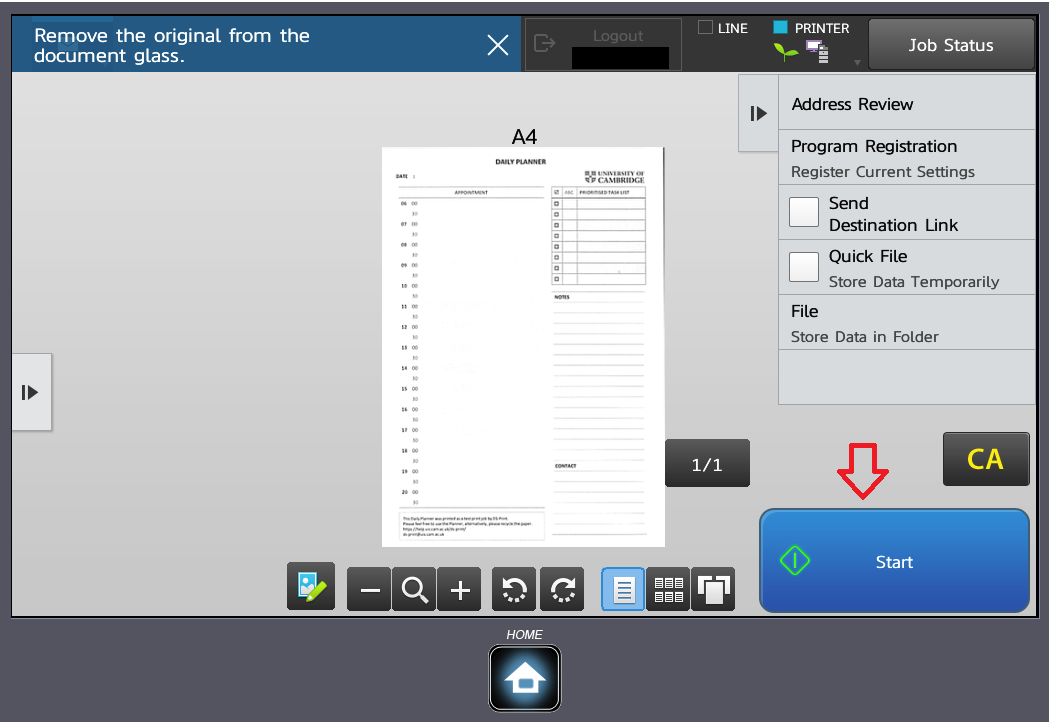
Figure 6: Preview screen
Press Start to finalise the scan.